Establishing the beginnings of your own sharpening philosophy before making any purchases of equipment and supplies will not only help you save money in the long run, but will help you better find your desired path when embarking on your sharpening journey. This third installment looks deeper into Mechanized vs. Manual Sharpening. Before reading this post, it is recommended that you read the introductory sharpening philosophy article.
To recap, the main categories are as follows:
- Speed vs. Cost vs. Precision (-pick any 2)
- Mechanized vs. Manual Sharpening
- Guided vs. Freehand Sharpening
- Maintenance vs. Full Service Sharpening
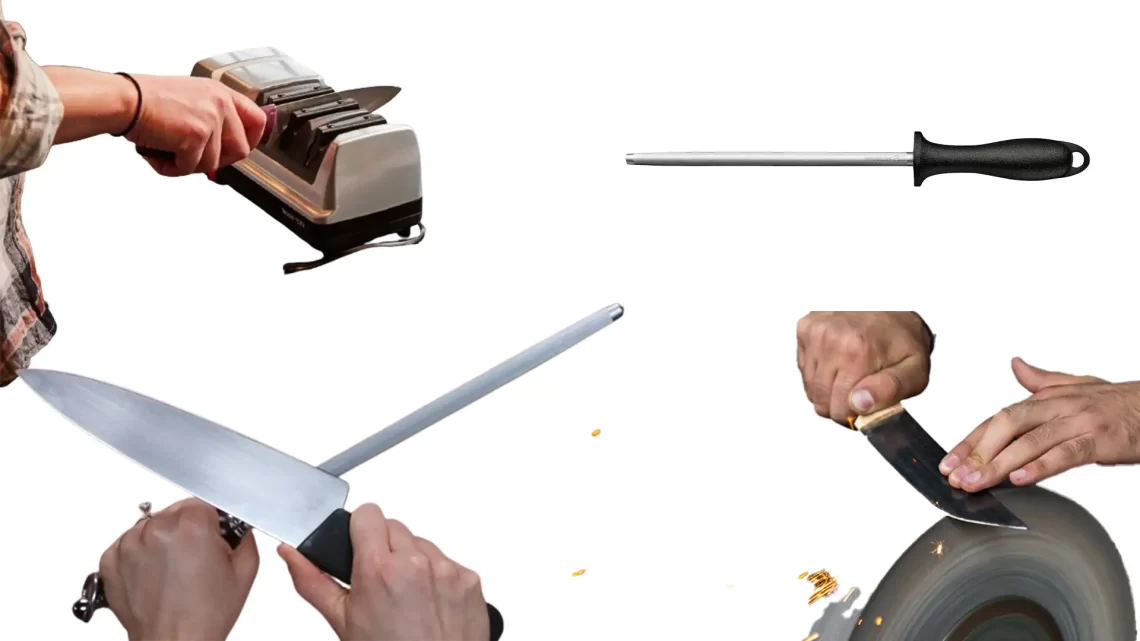
Choosing between Mechanized and Manual is not always as easy as you would think. This is a pretty big topic with lots of options and arguments for and against both categories. And while the fight between the camps won’t be definitively solved here, making some decisions at this level will point you on a more clear path as to which kinds of sharpening equipment and methods you should be considering.
A quick definition of mechanized sharpening is any sharpening equipment that uses a motor or moves independently of the user. Manual sharpening is done by hand, and uses “human” power. Just to be clear, guys using bicycles or hand cranked sharpeners to sharpen would be considered mechanized since the wheel is turned through mechanical means and spins independently of the user.
One thing for sure is that mechanized is faster while manual sharpening is comparably slower, but mechanized sharpening can be more invasive than manual sharpening. There will be sharpening situations where one system’s advantage for sharpening one thing becomes a disadvantage when sharpening something else. So once again, it depends on what you are sharpening and what you want to achieve.
MECHANIZED SHARPENING
Mechanized sharpening is more of a no-nonsense, “Get ‘er done” approach to sharpening. It’s fast, as in high RPMs, and is best suited for larger sharpening loads (50+ per day/week), repair work, and for a no frills, quick turnaround time. It’s biggest detractor for sharpening is that faster RPMs equals heat buildup on the blade, and the possibility of bluing or burning the metal (which draws out the carbon and makes the blued area useless). This is easily controlled with a little bit of technique, some attention to the temperature as you sharpen, and a bucket of water/coolant nearby. Higher end machines will often have a variable speed option either built in or available as an add-on.
Within the mechanized sharpening camp, you have three basic types of machinery – belt systems, wheel systems, and disk systems. There are usually several accessory guides and jigs available for these systems, which add a level of precision to their speed (and increase the overall cost). Most of the mechanized sharpening products come in small, medium and commercial sizes, which is most often reflective of the horse power of the motor (1/4HP is small, while 3 or 5HP is commercial). The majority of these systems are run dry – without coolant or water directly on the belt, wheel or disk, but there are wet systems out there.
BELT SYSTEMS
Belt systems are pretty much belt sanders that use various length and width belts. The most common belt lengths and widths are 30″, 36″, 42″ and 72″ long and 1″ or 2″ wide. There are several main types of abrasives available, including Silicon Carbide, Aluminum Oxide, Zirconia (ceramic) and Diamond. There is a very wide range of lower grit belts available, with the most options being in the #60 to #320 grit range. There are also belts that go much higher in grit – like 4 and 6 micron (#2,000 and #3,000 grit), and even finer – like 0.5 micron (#30,000 grit!). There is a large variety of belt “strengths” out there, too, which are formulated for lighter or heavier uses. Aside from abrasives belts, there are also leather and belts made from other materials that can be charged with compounds and sprays, giving them a huge grit range. You can go crazy as you want with choosing belt progressions, but most people stick to 2-3 belts because you can make large leaps in grit due to the speed of abrasion.
WHEEL SYSTEMS
Wheel systems are interesting – and they are more diverse than people think. Grinding wheels are generally some sort of vitrified abrasive in the #36 to #120 grit range. This is the most aggressive side of sharpening – you know, the one where sparks are flying like a mini launch of the space shuttle. There are more specialized abrasive sharpening wheels out there in the 100-3K range, and there are wheels which spin much slower or with variable speed options. Some wheeled systems will employ more than one wheel at a time.
Sandpaper flap wheels are another example of wheel systems. They are hundreds of sheets of sandpaper bound in a wheel of various diameters (generally from 4″ to 10″) that fan out and abrade the surface. Flap wheels are less aggressive than stone wheels, and are more akin to belts. The range is generally from #60 to #320 Grit.
There are also many wheel sharpening systems that can be charged with a wide variety of sprays and compounds, including wheels made from paper, plastic, cotton, canvas, and leather. All have different abrasion speeds and properties. Just a quick reminder that once a wheel is charged with a given grit or compound, it should remain that grit exclusively to avoid cross contamination.
DISK SYSTEMS
Sharpening Disks are circular and spin flat or horizontally, like records (or CDs if you’re too young!) Most of the disk sharpening systems I’ve seen are related to the hair shear/scissor sharpening world and can use 3-6 disks. The others I’ve seen are in all out industrial settings, but there are a few smaller, singular disk options out there. The disks can be abrasive wheels, ranging from silicon carbide to aluminum oxide to CBN and diamond, or they can be replaceable sheets of abrasive films of varying grits.
MANUAL SHARPENING
The biggest attraction to Manual Sharpening (IMO) has to be all the different possible edge types that can be obtained from the variety of equipment that is available. Basically, every product produces a tangibly different edge, which allows for total personalization. That’s not the only draw, there’s also the Zen aspect where you can control every pass, the challenge of mastering the techniques, the overall lower costs and space requirements (depending on how deep you fall into the rabbit hole!), not to mention the greater portability aspect. And while the speed of manual sharpening is somewhat slower than mechanized, you can still get some work done when you need to.
Manual sharpening is broken into two highly opinionated and often confrontational camps – Freehand and Guided sharpening. These will be looked at in greater detail in another post, but for this level of Mechanized vs. Manual sharpening, guided sharpening employs guides and/or jigs that increase precision while freehand sharpening gives greater freedom to make on the fly adjustments. However, manual sharpening, be it freehand or guided, can generally be done on the same types of abrasive mediums.
Those mediums include sharpening stones, abrasive films and papers, and strops.
SHARPENING STONES
Sharpening stones is a huge topic. There are basically 2 types of stones, though – Natural and Synthetic – and with many different stones populating both groups. It’s this variety of stones that allows for complete personalization of an edge, and opens up several more subtopics in more advanced philosophical discussions. One the most appealing aspects of sharpening stones is not the wide range of grits and makers, but how the stone’s binder and/or composition effects the stone and the sharpening results – which is yet another subtopic!
For now, we will focus on the basics – Naturals are stones found in nature, and are mostly named for the places they are/were mined. There is no absolute grit rating for naturals since they are not completely uniform or consistent in their abrasive size or composition, so they are usually rated as coarse, medium or fine stones. The grit range is quite extensive, and is comparable to that of synthetics, with some arguing that some naturals can go even finer. The good news is that the specific names of the stones will almost always tell you which grit category they fall into.
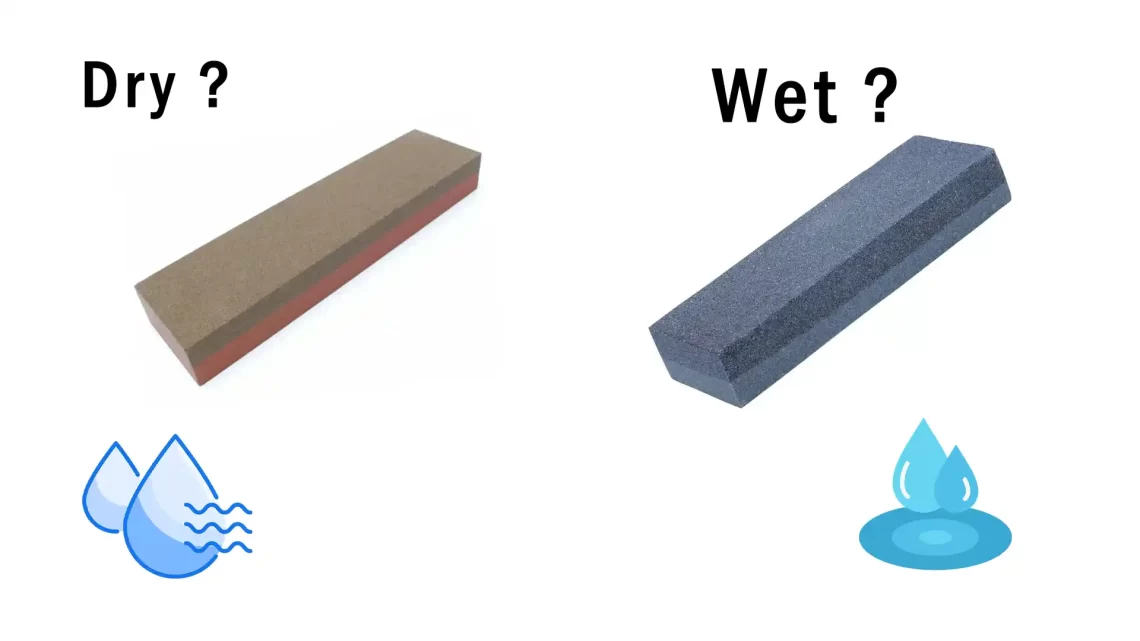
There are no set dimensions to natural stones, but most of them are 1-3″ wide by 2-8″ long with varying thicknesses. Depending on the kind of stone, it may have chipped off corners, and/or tapered sides (the weak parts of the stone are chipped off to ensure its integrity). Natural stones are generally “harder” which means they do not dish so readily, and they use either water or oil as a lubricant, depending on the type of stone.
Synthetic stones are man made from various abrasives, usually silicone carbide and aluminum oxide. There are also diamond impregnated plates. The abrasive grit sizes are much more controlled, and the stones are referred to by their manufacturer’s name and the corresponding grit (there are several grit standards used, though). The range of grits is generally from #120 (#120 micron) to #30,000 (0.5) micron. Most full size stones are around 3″x8″ with varying thicknesses – anywhere from 5mm to 3 inches. There is a wide range of hardness amongst synthetic stones – some dish more readily than others while some polish more than others.
Amongst synthetics, there are oil stones and water stones. As their names imply, oil stones use oil as a lubricant while water stones use water. You can use water on oil stones (but not after you already used oil), but you shouldn’t use oil on water stones – ever.
ABRASIVE FILMS AND PAPERS
Abrasive films and papers are your basic sandpapers, which use a variety of abrasives, including the more traditional emery and feldspar, and they have grown to include longer lasting abrasives such as silicone carbide, aluminum oxide, CBN and diamond on more robust film backing. Films and papers are generally cheaper than stones, but the tradeoff is their lifespan, which is more limited compared to sharpening stones since the abrasives are not renewable. However, with their flexibility and the fact that they are paper or film, they can be cut to a specific shape and/or size and transported easily. Abrasive films and papers can be used either wet or dry, and used with a variety of backings for different results – such as mouse pads, leather, glass, or granite.
STROPS
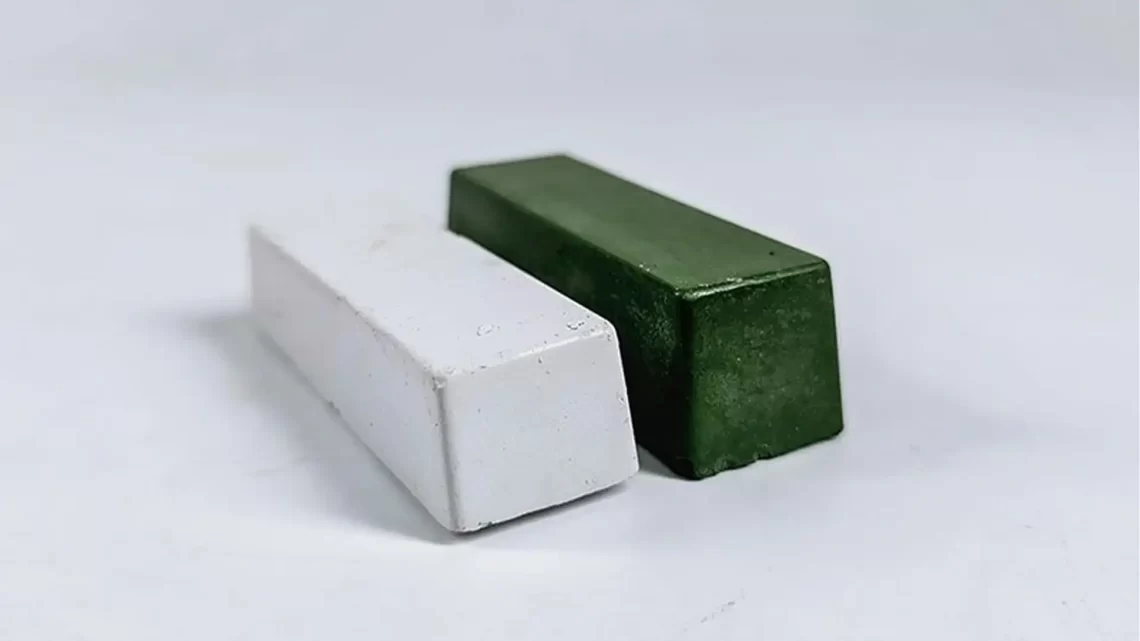
The use of strops has increased dramatically lately, and that probably has something to do with the increase in stropping mediums now available. Traditionally, the leather strop on its own has been used to tweak an edge, or to get it back into working position. But strops can also be loaded with abrasive sprays and compounds, making them act more like renewable abrasive papers and films. As with sharpening wheels, once a strop is charged with a given grit or compound, it should remain that grit exclusively to avoid cross contamination.
The most traditional stropping material is cow’s leather, but that has expanded to include horse, and even kangaroo leathers. A canvas strop has always been the compliment to a barber’s leather strop, and they can be made from a variety of textiles such as cotton, flax, hemp, felt, denim, nanocloth, vegetable leather, and even newspaper and other types of specialty papers, such as rhodia paper. These too can be loaded with abrasive sprays and compounds.
Balsa wood has become a popular “hard” strop, but you can add a soft or hard backing to any of the stropping materials above.
CONCLUSION
Choosing exclusively between mechanized and manual sharpening is a big decision, and it’s not always an easy one since there are many versatile options in each category. It really boils down to how much and what kind of sharpening you plan to do, how fast you want it done, and how personalized you want the results.
If you are serious about sharpening – and especially if you plan on sharpening other people’s knives or tools – you will want to have some sort of mechanized sharpener for major work such as tip repairs, large chips, and serious reprofiling – even if you end with manual sharpening methods to put your personalized finished edge. If you simply want to maintain a few knives or tools, manual sharpening is more economical, and with a little extra time, the coarser grit options for manual sharpening can usually take care of all but the most serious damage.