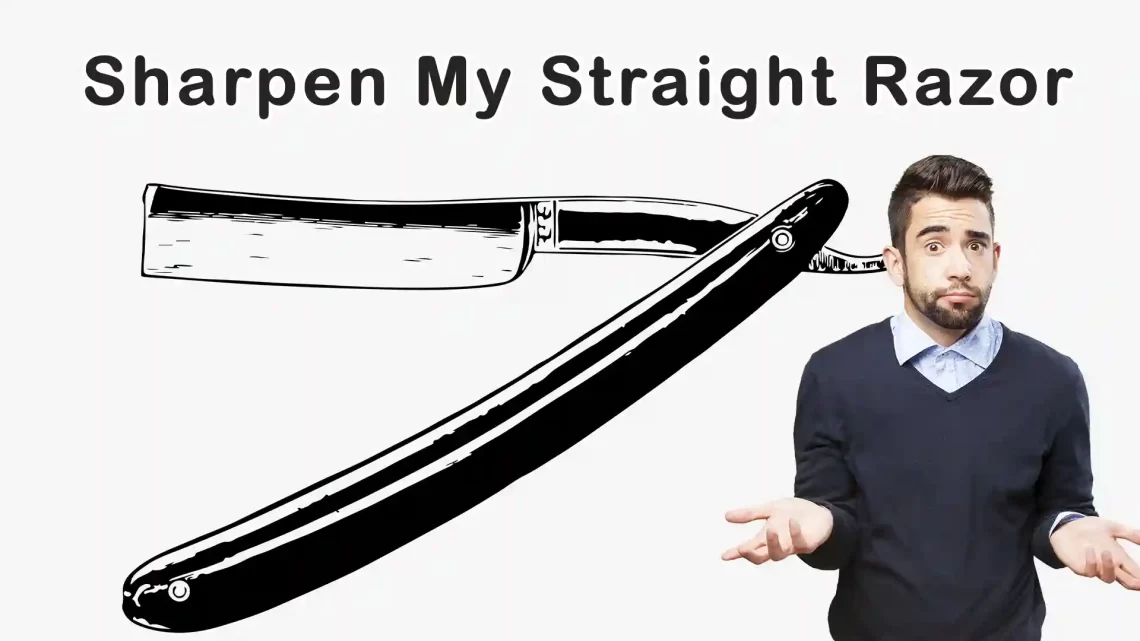
Since 2010, I’ve been on a journey with my trusty straight razor. Now, if you’re diving into the world of straight razors, you’re bound to hear a plethora of methods on how to sharpen them.
Let’s start with the basics. Most of the time, a good stropping does the trick to keep your razor sharp. But there comes a point when stropping alone won’t cut it (pun intended). When you start feeling like your razor isn’t slicing like it used to, it’s time to hone it. Every straight razor user should have the skill of honing a Straight Razor.
Now, honing might sound like a daunting task, especially if you’re new to it. But fear not, it’s not as tricky as it seems. Think of it as giving your razor a spa day – it comes out feeling rejuvenated and ready to give you that perfect shave again. So, grab your gear and let’s dive in.
Materials You need
You’ll need some honing stones, preferably two or three with different grits. I personally swear by my 3000 and 8000 grit Shapton stones. These bad boys are like the Batman and Robin of my sharpening routine, ensuring my razor is always in top shape. And hey, if you’re feeling fancy, throw in a high-grit stone for that extra polish.
Next up, you’ll need a flattening stone or lapping plate. These help keep your honing stones flat as a pancake, ensuring an even sharpening surface. Trust me, a flat stone is your best friend in the sharpening game.
And of course, don’t forget your strop. This is what puts the final touches on your razor, giving it that extra edge (literally). Oh, and a loupe might come in handy too – it’s like a magnifying glass for your razor, helping you spot any imperfections along the blade.
Now that we’ve got our tools ready,
Let’s get down to the steps:
Step one: Clean the blade. No one wants a dirty razor, right? So, give it a good wipe-down to remove any gunk or residue that might get in the way of honing.
Step two: Prep your stones. Make sure they’re nice and flat using your flattening stone or lapping plate. A flat stone ensures an even sharpening surface, giving you that razor-sharp edge you’re after.
Step three: Set the bevel. This is where the magic happens. Start with your lower grit stone – I prefer the 3000 grit for this stage. Lay your razor flat on the stone and make about 20 edge-trailing passes. Don’t rush it, slow and steady wins the race.
Step four: Polish the bevel. Now it’s time to give your razor that extra shine. Switch to your higher grit stone – I use an 8000 grit for this step. Again, make about 20 edge-trailing passes to really polish up that edge.
Step five: Strop the blade. This is the final step in the sharpening process. Grab your strop and give your razor about 30-50 passes. And remember, always make edge-trailing passes to avoid damaging your strop.
Step six: Test the razor. The moment of truth! Give your razor a little test to make sure it’s sharp enough for action. If it can slice through a free-hanging hair with ease, you’re good to go.
And there you have it – a perfectly sharpened straight razor ready to give you the smoothest shave of your life. So, next time you’re feeling a bit rough around the edges, don’t hesitate to give your razor a little TLC. Trust me, your face will thank you for it. Happy shaving!
Image by rawpixel.com on Freepik